How To Make Fall Meal Prep Bowls In An Instant Pot
Fall is the perfect time to build hearty, warming meal prep bowls, but roasting squash, simmering grains, and cooking protein can easily eat up your entire Sunday afternoon. By using your Instant Pot, you can compress three hours of active cooking into less than thirty minutes of hands-on time. Let's build a complete, no-fail batch of autumn bowls that will actually hold up in the fridge.
Quick Answer
To make fall meal prep bowls in an Instant Pot, you'll cook a hearty grain, a lean protein, and a seasonal vegetable in stages using the pot's sauté and pressure functions. You can cook components separately for the best texture, or use the pot-in-pot method to cook your grains and protein at the exact same time. This process takes about 30 minutes total and yields four to five days of ready-to-eat, comfort-food lunches.
Table of Contents
Choosing Your Fall Ingredients
A great meal prep bowl balances hearty carbs, filling protein, and a good sauce. For a classic fall flavor profile, you want ingredients that taste like autumn but won't turn to mush by Thursday. Butternut squash, sweet potatoes, and Brussels sprouts are durable vegetables that hold up incredibly well to pressure cooking and refrigeration.
For your base, choose chewy grains like farro, wheat berries, or brown rice. White rice gets gummy and wet in the fridge after a few days. Farro maintains a satisfying, firm bite all week long. Pair this with chicken breast, turkey meatballs, or cubed tofu for your protein.
The Pot-in-Pot Method Explained
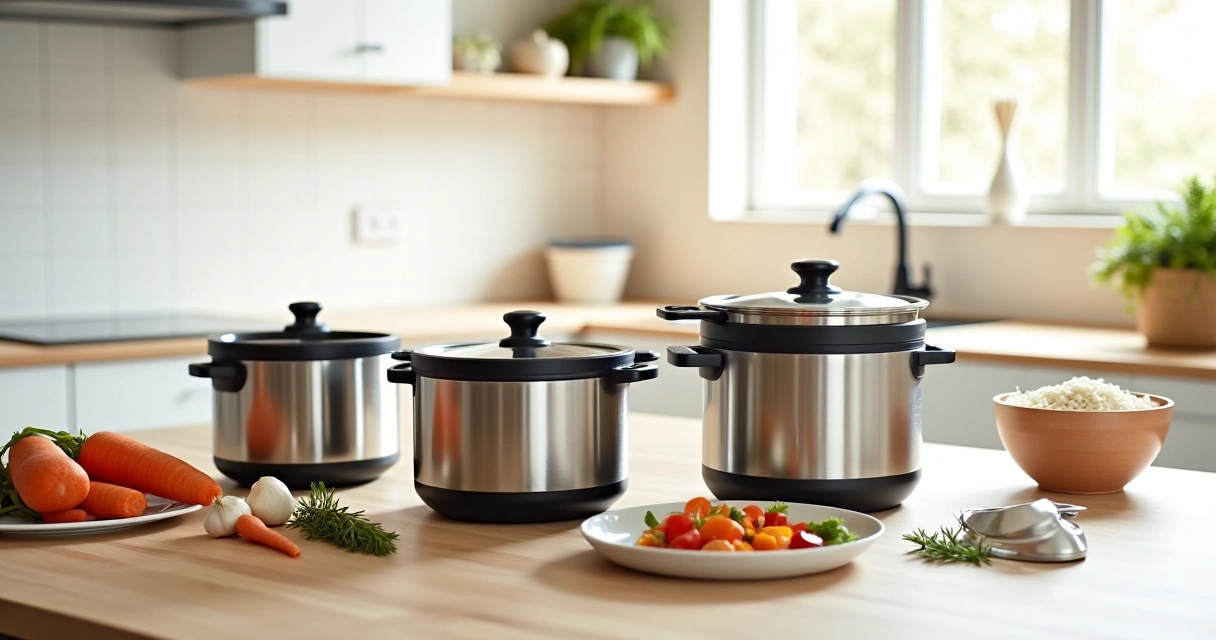
If you cook grains, meat, and vegetables all together in one pool of liquid, you end up with a bland, soggy stew. The pot-in-pot (PIP) method is the ultimate workaround. You use the water at the bottom of your Instant Pot solely to create steam, while your actual food sits safely above it in oven-safe containers.
This method allows you to cook foods that require different liquid ratios simultaneously. You can cook a batch of perfectly separated farro in a heat-safe glass container while your chicken breast pressure cooks on a trivet right above it. It cuts your total cooking time in half and prevents flavors from bleeding together.
Step-by-Step Cooking Process
First, add exactly one cup of cold water to your inner pot. This is the universal baseline for creating steam in a 6-quart Instant Pot. Place your chicken breast or tofu directly on the standard metal trivet, seasoning it generously with salt, pepper, and smoked paprika. If you are using grains, put them in a separate oven-safe dish with their required amount of water or broth, cover tightly with foil, and stack it on top of the protein.
Seal the lid, set the valve to sealing, and pressure cook on high for 8 minutes. Once the timer goes off, let the pot naturally release pressure for exactly 10 minutes. This prevents the foam from starchy grains from spitting out the steam valve.
Quick release any remaining pressure and remove your protein and grains. Add your diced sweet potatoes or squash to the pot with a splash of water, seal the lid, and pressure cook for 2 minutes. Quick release the pressure immediately so your vegetables don't turn to absolute mush.
Building and Storing Your Bowls
Let all your components cool completely before assembling. If you put hot chicken and warm squash into a sealed container, condensation will pool at the bottom, ruining your meal prep by making everything soggy. Spread your cooked items out on a sheet pan to speed up this cooling process.
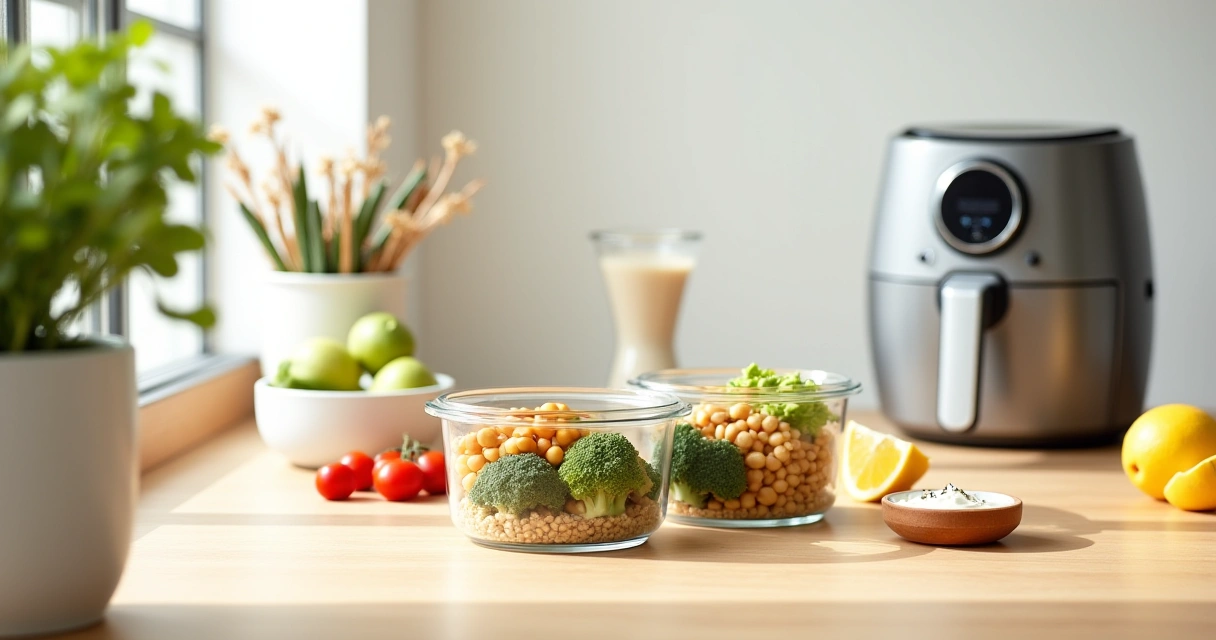
Portion your grains, protein, and vegetables into your food storage containers, leaving a little room at the top. Keep your sauce in a separate small container until the day you eat it. Mixing everything with a maple-mustard or tahini dressing on Sunday guarantees a wet, unappetizing salad by Wednesday. Keep the wet and dry components separated.
Reheating for the Best Texture
Reheating is where meal prep either succeeds or fails. Microwaving a sealed container of dense fall grains and squash often leaves you with food that is scalding on the edges and ice cold in the center. The Instant Pot is your best friend here, but your microwave technique matters most for weekday lunches at the office.
When reheating your bowls, loosen the lid but leave it resting on top of the container. Heat for 90 seconds, stir the contents thoroughly to distribute the heat, and then heat for another 60 seconds. This ensures the dense root vegetables heat evenly without overcooking the chicken.
Frequently Asked Questions
Can I double this recipe for more meals?
Yes, but do not exceed the "Max Fill" line inside your Instant Pot inner pot. The pot-in-pot method works great for doubling up grains and proteins. Just stack an additional oven-safe container on top, ensuring the steam can still circulate around the edges.
How long do these bowls actually last in the fridge?
Properly stored in airtight glass containers, these bowls will stay fresh for up to 5 days. Root vegetables, hardy greens like kale, and chewy grains maintain their texture much better than delicate greens like spinach.
Can I use frozen chicken breast?
You can cook frozen chicken directly in the Instant Pot, but you will need to add about 2 to 3 extra minutes to your pressure cooking time. Always check the internal temperature with a reliable meat thermometer before packing it into your lunches.
What is the best container to use for meal prep?
Glass containers with snap-locking plastic lids are the best option. They do not absorb stains or hold onto strong food smells like plastic does. More importantly, you can take the lid off and reheat your meal right in the microwave or oven without melting anything.
Do I have to use the pot-in-pot method?
No. You can cook the components in batches one after the other using the sauté and pressure settings, washing the pot in between. The pot-in-pot method is simply an efficiency hack designed to save you time and dish-washing effort.
Fall meal prep does not need to be an all-day chore that leaves you scrubbing roasting pans. By relying on the Instant Pot and using the pot-in-pot method, you can turn out hearty, flavor-packed bowls that actually hold up to a long week in the fridge. Grab your favorite fall vegetables, use a separate container for your dressing, and get your week sorted out in 30 minutes.